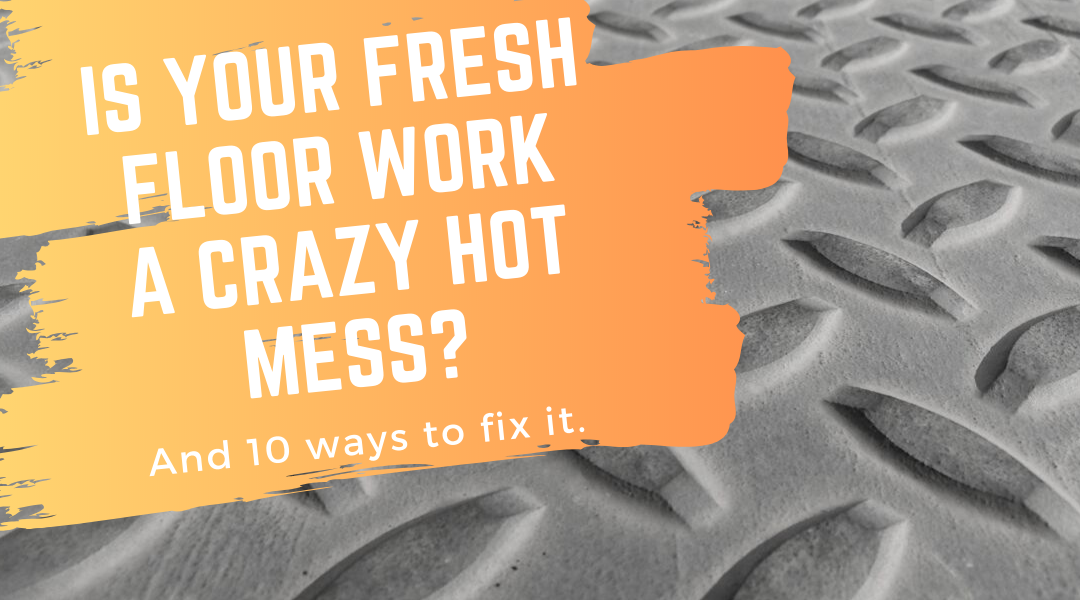
Here’s why your fresh floor work is probably a crazy hot mess.
Few people ever get to experience the satisfaction of finishing a strip and wax job that turns out amazing. It’s like a work of art: floor work art. You just have to stand there and admire it for a little while.
It takes a fair amount of hard work and know-how to achieve this kind of result. However, between the sense of accomplishment, customer appreciation, and the paycheck, it’s absolutely worth it!
In my day, I have seen some truly awful floor work and others that are truly stunning. I wish I could say that all of mine turned out perfectly. Unfortunately, I have created both.
I once had a customer that hired us to do the VCT floors in his small private school. He insisted that his floors look like a sea of glass all the time. He felt that it communicated something to the parents whose children attended the school. He was right, it looked awesome (though the general cleaning could have used some serious attention!). We swept and mopped the floors every night, scrubbed and waxed every week, and stripped and waxed once a month. The floors were stunning and it was a lucrative account!
Floor work is an incredibly profitable business and if you aren’t already providing it, you should consider it. You can become a floor expert with a little practice and study.
Manage projects, stay in touch with clients, and more with Janitorial Manager. Contact us for a free demo right now and see how it works!
To become a floor expert consider these tips.
1. Don’t practice on your customer’s floor.
There is a lot to learn and practice is important, but you don’t want to risk messing up a client’s floor. Instead, practice at your own office or maybe take a class at a technical school. You could also practice at the facility of someone you know well.
2. Know your floors.
The chemicals and equipment used for a VCT floor, for example, are not appropriate for a stone floor.
3. Have all the tools necessary and on-hand before starting the job.
The only thing worse than having to run back to the office to grab something you forgot is trying to finish a job with the wrong tools and equipment. Being ill-prepared can slow down the entire floor stripping process.
4. Take the time to use new, or properly cleaned, mops and buckets.
Always, always, always use clean equipment. Dirty or contaminated equipment will ruin all your hard work.
5. Utilize safety clothing, goggles, gloves, and non-slip shoes.
Decades ago I was learning floor work from an elderly gentleman who was very good at making a floor shine. When he was ready to begin stripping the floor, he changed shoes and I noticed that he had cut up a buffer pad into the shape of his shoes and glued it to the soles. Genius idea and it works to keep you from slipping. Also, if you keep your feet moving, it will help strip the floor, right? Maybe not, but the key is, you don’t want to slip, knock yourself out and wake up the next morning glued to the floor. Wear non-slip shoes!
6. Don’t forget safety warning cones and signs around the work area.
The last thing you need is a slip and fall accident. FYI, the wax is very slippery!
7. Don’t bite off more than you can chew.
For large work areas, section off the floor and work in one area at a time.
8. Make sure to follow the directions for properly diluting the stripper.
Most often the stripper must be diluted. Cutting corners here might save you a couple of bucks, but it will not be worth the unsatisfactory results.
9. Make sure to allow for proper dwell time for the stripper.
It’s easy to get in a rush, but it doesn’t yield good results. Plan plenty of time for drying.
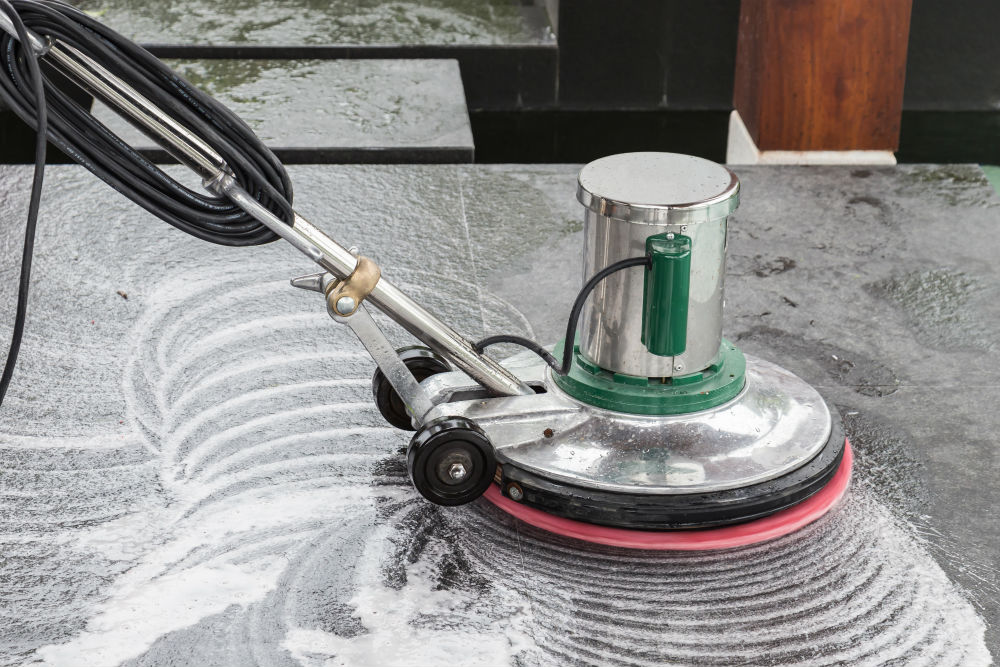
10. Using a wet/dry vac is an incredible time-saver for removing the stripper and old wax.
If you have a wet/dry vac, make sure to use a defoamer to avoid excessive foam.
Practice, practice, practice. Learn as much as you can from anyone who will teach you. There may be a lot of competition for floor work in your area, but if you take the time to know what you’re doing and always produce excellent work, you’ll leave the competition in the dust.
Despite your best efforts, sometimes the results don’t turn out as you hoped. It’s important to recognize potential problems and how to avoid them or fix them if it’s too late.
Troubleshooting Issues With Your Floor Work
Streaked Appearance
If you see streaks in your finish, this can be caused by applying the finish coat too thin. Make sure that you don’t have too little finish on the mop during application. Streaking can also be caused by using a dirty mop. Make sure that the mop head is new or at least very clean. Sometimes streaking can also be caused by failure to properly rinse the floor before applying the finish.
Yellow Film
Completely remove all the old wax before refinishing the floor. Incomplete stripping or removal of the old finish or imbedded soil prior to application of the new finish can cause a yellow film. Additionally, a yellow film can be caused by using a floor finish that has a yellowish cast or high resin content. Softer floor finishes are more prone to soil penetration, which can also result in finish film discoloration.
Poor Leveling or Spreading
If your finish doesn’t self-level or spread evenly, it will show. If the tile is new, the factory finish must first be removed before applying the new wax. Floor finish applied over factory finish on new tile not adhere or spread properly. Failure to properly rinse or clean the floor can also cause similar issues. The floors themselves can also be unlevel, causing similar outcomes.
Poor Gloss
What if your floor doesn’t shine like it’s supposed to? Maybe you applied too few coats of wax. Or the finish coats are too thin. The porosity of the floor can also negatively affect the shine of the finish.
“Fish Eyes”
Fish eyes are bubbles that form in the finish. There are several possible causes for fish eyes including a finish applied too heavy, air bubbles due to agitation when mixed or when loading, or finish in the mop. Bubbles can also form due to contaminants like solvent cleaner or solvent-based product present on the floor surface.
Powdering
Powdering occurs when there is poor adhesion of the initial coat of finish due to an alkaline residue or other contaminants present prior to applying the wax. Dirty or contaminated application pads can also contribute to powdering. Chemicals or coatings present on the tile from the factory will negatively impact the ability of the new finish to adhere. It is critical to properly and completely strip and clean the tile surface before applying a new finish. Powdering can also occur with excessive or overly aggressive buffing or burnishing.
Hazy or Cloudy
A cloudy or hazy appearance in a finish can be caused by temperatures below 50° F. This is not a common problem, but in the event that you are finishing a floor in a space that is not heated, it could be a problem. Failure to properly remove the factory finish can also cause a hazy or cloudy appearance, as well as using a contaminated applicator.
Sticky or Tacky
Like many other industries, increasing production rate means an increase in profitability. With floor work, though, moving too fast can cost you. It is important to allow the manufacturer’s specified amount of dry time between each coat of finish. Insufficient drying time between coats can cause the wax to dry improperly. Using hot water or high alkaline cleaner/degreaser can also cause similar problems.
Don’t Miss the Out on the Floor Work Opportunity
You have a lot going on managing your cleaning company and it can be overwhelming at times, but don’t miss out on the opportunity to include floor work in your service offering. It may take a minute to get good at it and acquire the necessary equipment, but it is a worthwhile investment that will provide years of profitable work.
Maintain your customer database with Janitorial Manager. Sign up a free demo today to learn about this and other great features!